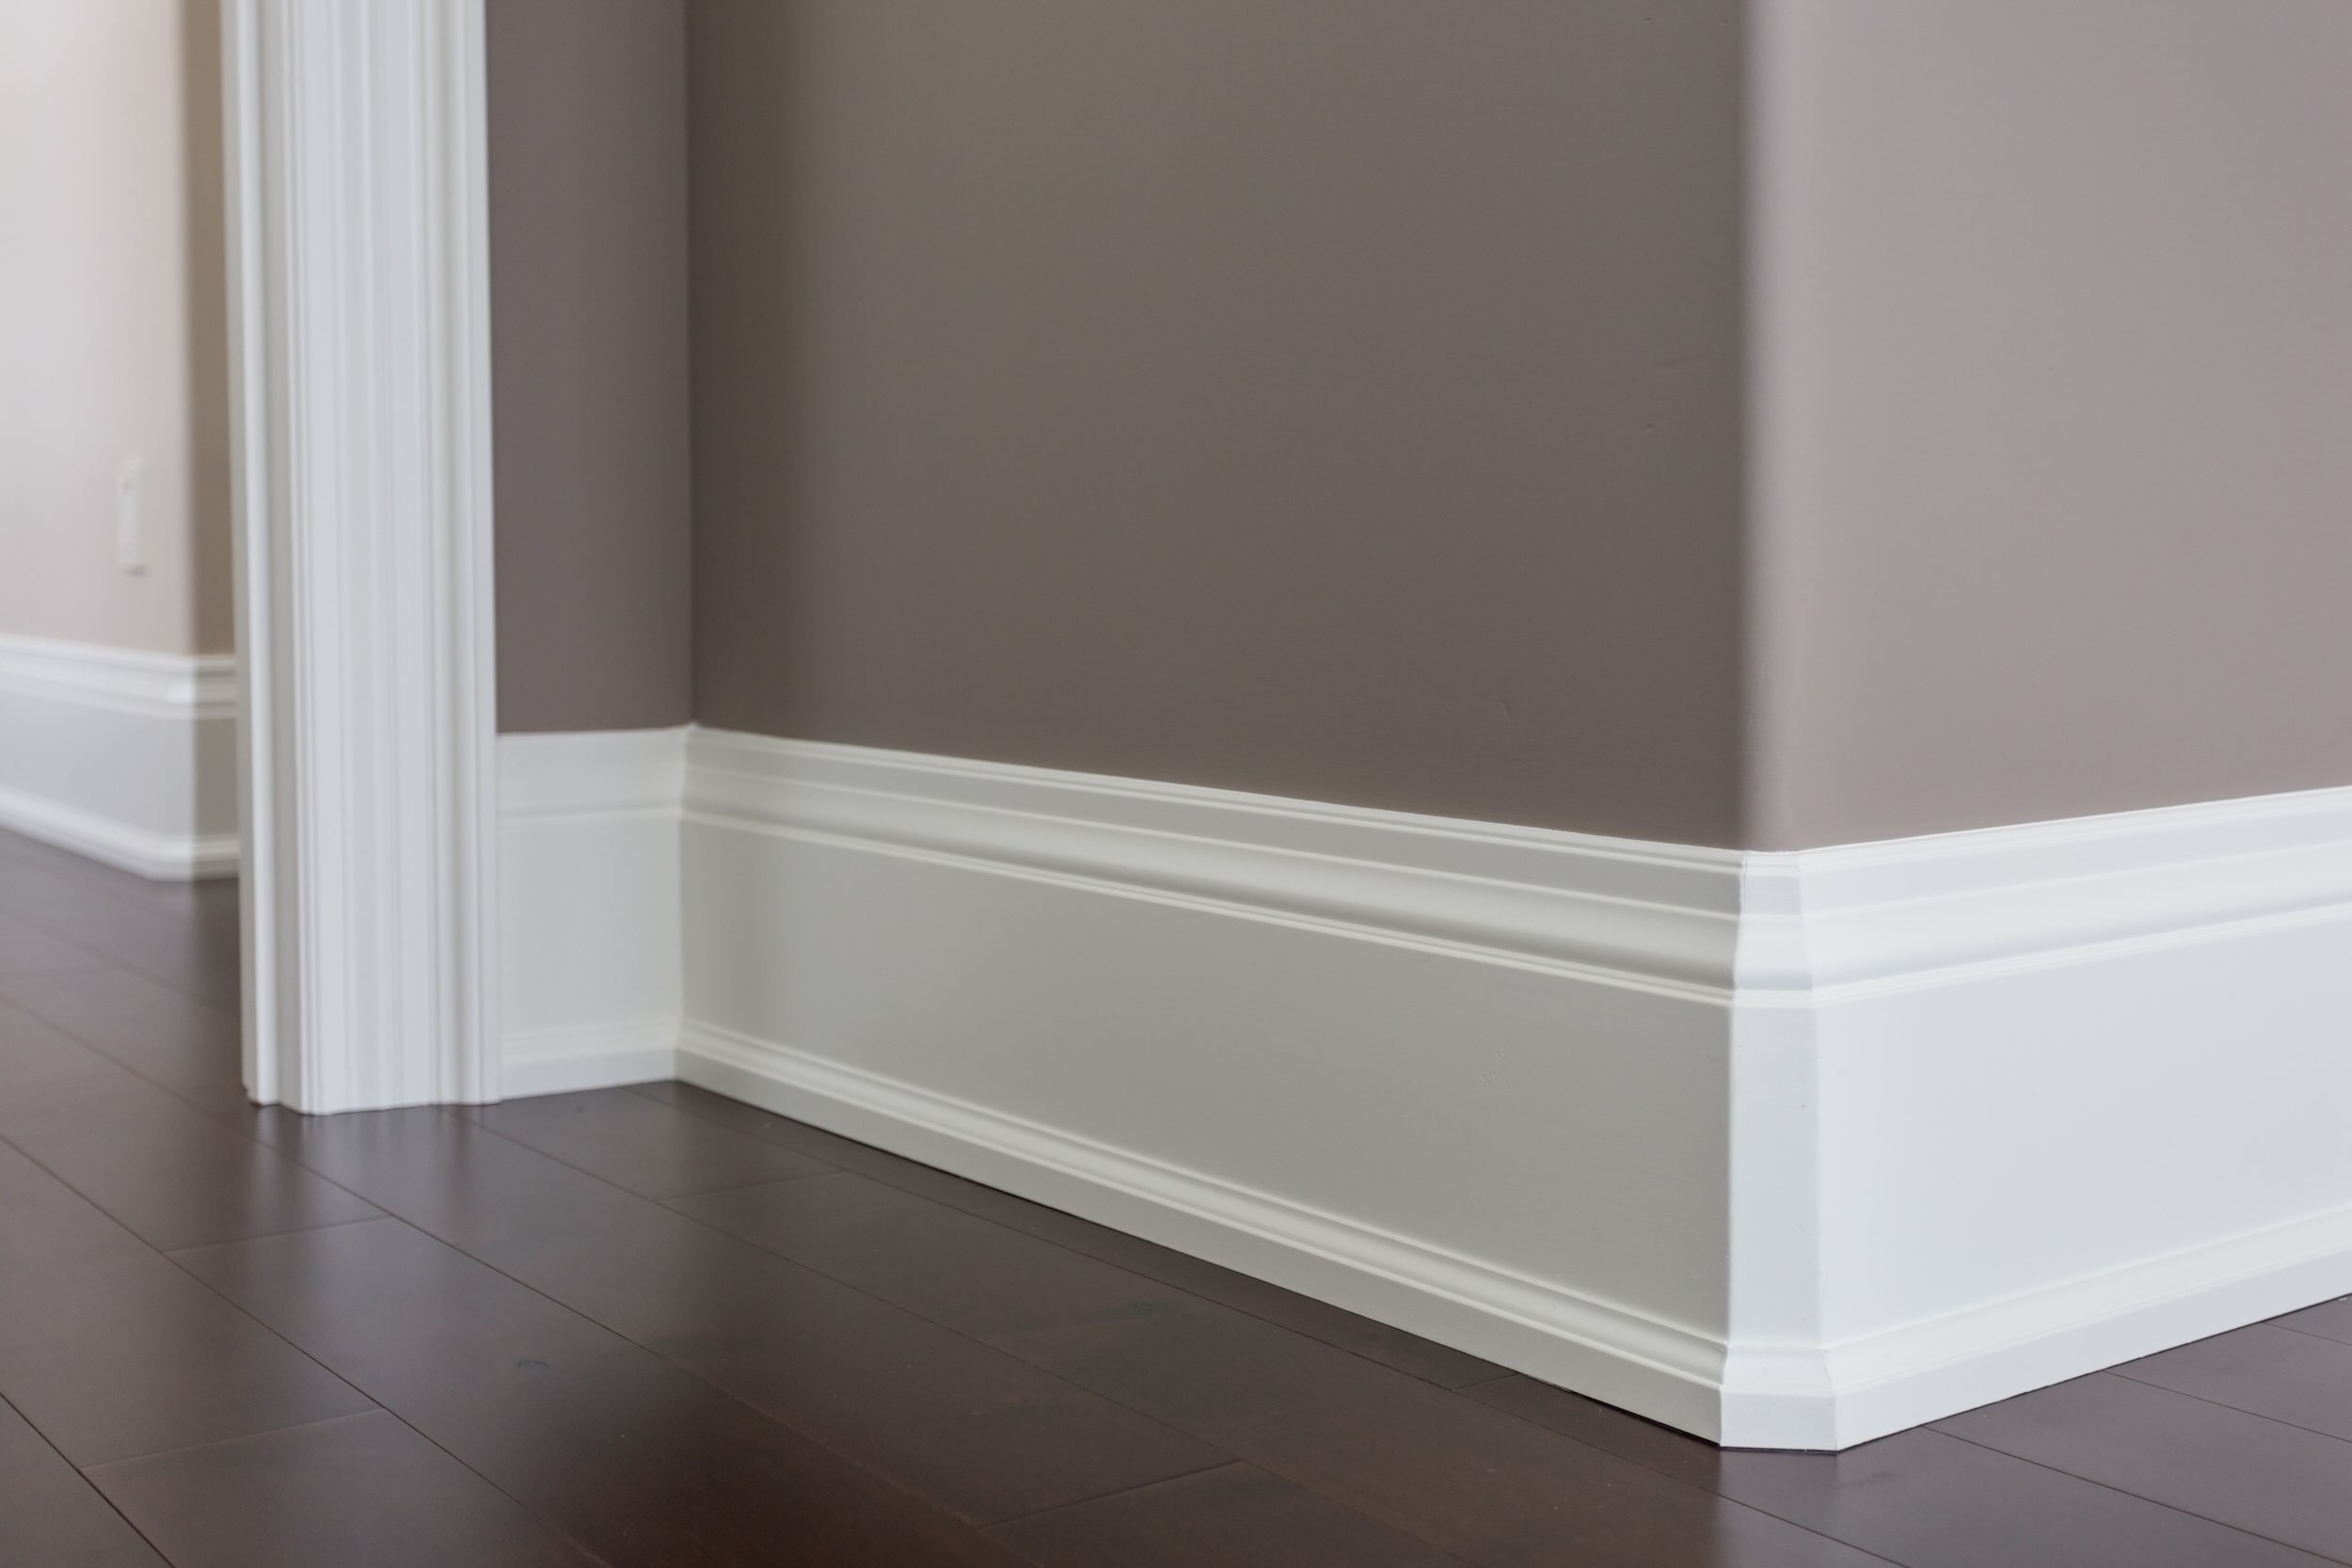
How to repaint trim, molding and baseboards?
- Introduction
- Divide and conquer
- Prep work
- What kind of paint?
- Paint sheen?
- Paint additives?
- How to apply the paint?
Introduction
In this article I am sharing what I learned during a recent DIY project where I repainted all of the trim in my home. The terms “casing”, “trim”, and “moulding” may each have slightly different connotations. However, for the sake of simplicity, I will refer to all of these as trim. Repainting your scratched and scuffed trim can significantly enhance the appearance of your home’s interior.
Divide and conquer
The typical DIY homeowner needs to live in their home while making improvements. And the amount of time that can be devoted to ongoing projects is limited. Rather than burning your vacation days to try to do it all in a week, I strongly recommend a divide and conquer approach. Work on one room at a time. This helps take the pressure off and more importantly, gives you time to correct mistakes and refine your technique.
Prep work
Done correctly, a majority of your project time will be spent doing prep work. It is the most important part of any painting project, particularly when you are restoring an existing trim installation.
“By failing to prepare, you are preparing to fail.” - Benjamin Franklin
The following subsections outline the prep work steps that I follow, in the order listed.
Resecuring loose trim
Paint is generally not very flexible after it dries. If you paint something that can twist or flex, the outcome will not be good. The first prep work step is to ensure your trim is securely attached tot he wall. If it isn’t then resecure it.
Removing old caulk
Often time there is a small bead of caulk filling minor gaps between the wall and the trim or at mitered joints. You will want to remove any sections of caulk which are peeling or cracked.
Usually the caulk can be easily removed with a scraper tool. More stubborn caulk can be removed by scoring one edge of the caulk with a razor. Here are some tools that have helped me.
- Red Devil 6-in-1 Painter’s Tool
- Amazon Basics 3-IN-1 Caulk Tool for Removal and Application
- Milwaukee Fastback Flip Utility Knife
Protecting your floor and walls
Properly mask surfaces adjacent to the trim or you will probably be sorry. Here are the essential supplies you will need.
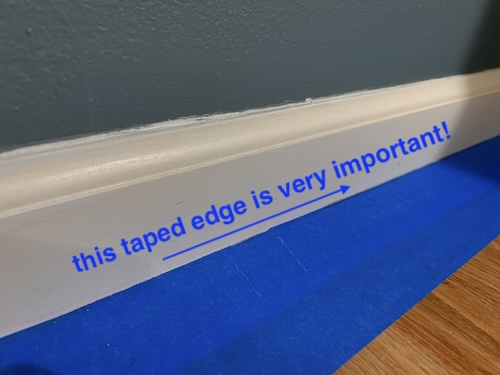
First, carefully apply the tape to the edge of the trim which will represent the edge of your painted surface. Particularly if you have wood floors like me, that tape line between the trim and floor should be clean and straight. Slide your finger along the tape to make sure it is fully affixed to the floor.
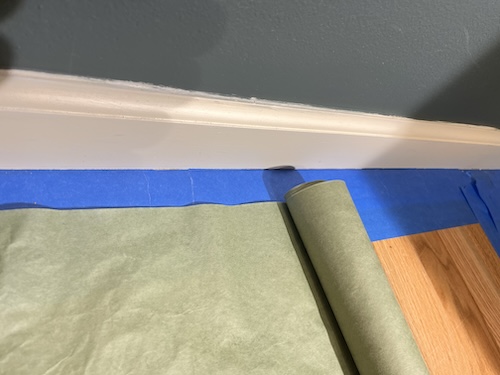
Next, lay the paper down along the tape with a small amount of overlap.
Finally, apply tape to affix the paper to the line of tape you applied in the first step.
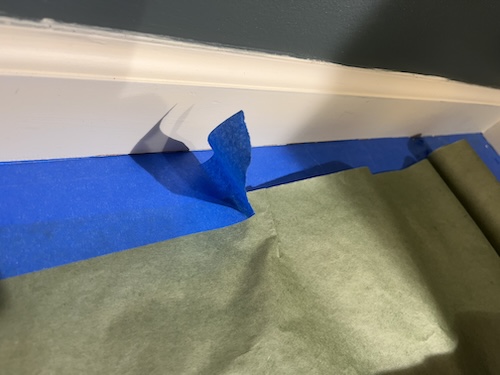
There are cheaper and faster ways. But my approach is clumbsy spill oops proof.
Sanding
You should lightly sand the trim prior to repainting with the following goals in mind.
- Remove loose paint.
- Remove the sheen (shininess) from existing paint.
- Remove old smeared caulk, carpet glue, etc.
- Flatten any blemishes, dents, old paint runs and drips.
- It is not necessary to sand it down to bare wood!
My favorite approach is wetsanding using sanding sponges and warm buckets of water. This approach controls the dust and helps clean any dirt or oil off the trim.
- Washable and reusable
- Assorted grits
- Size makes it easy to hold
- Flexible enough to sand contoured surfaces
Caulking
For this use case the caulk should be both flexible and paintable. Dap Alex Plus® Acrylic Latex Caulk has worked well for me.
If you are going to be caulking more than a dozen feet of trim I recommend using the caulk tube version and buying a caulk gun too.
- Allows for switching between high and low flow rates
- Effortless Maneuvering in Tight Areas
- Smooth plungers allow more control and more thrust to push the caulk
- Comfortable Grip
There is a lot of good information already available on how to caulk. But I’ll mention a few tips that have helped me.
- You can use painters tape to control where the caulk is applied.
- Wetting your finger with Windex when smoothing out the bead of caulk can be helpful.
- Work in smaller sections initially. There is a time element as the caulk can start to dry quickly.
- Err on the side of applying too little caulk. You can always do another pass and apply more.
What kind of paint?
I strongly recommend using a latex based paint, which cleans up easily with just warm water.
Oil based paint cleanup requires use of a strong solvent like mineral spirits or paint thinner. Several states actually prohibit the use of oil based paint. Modern latex paint is better than oil based paint.
Paint sheen?
Glossy paint has more sheen. Since it reflects more light, surface imperfections more visible. However the big advantage is that it is more durable. You can wash it. Often time scuff marks can be easily rubbed out using my hero, Mr. Clean Original Magic Eraser.
In contrast, flat paint has less sheen. It reflects less light and has a dull appearance. In my opinion it looks nice, at least until it gets scuffed or dirty. The problem is that when you go to wash it or try to polish off a scuff mark, the paint will rub off.
For painted trim you will want to go with either “gloss” or “semi-gloss”. “high gloss” may also be a possiblity but only if you are using a sprayer.
Paint additives?
When using higher sheen paints I will often use a paint additive to help minimize brushmarks, roller marks or spray patterns. Floetrol extends the working time of the paint so that it dries more slowly. The idea is that any subtle depressions or textures in the applied paint, such as brush marks, have an opportunity to fill in to help achieve a glass like finish.
- Fortifies acrylic and latex paints to improve performance and reduce brush marks
- Allows latex paint to spray like oil-based paint
- Add to latex paints to improve Brush ability and eliminate Brush and lap marks
- Helps minimize paint sprayer clogging too
How to apply the paint?
I have used three techniques for painting trim, each with their own pros and cons.
| Technique | Pros | Cons |
|---|---|---|
| Brush |
|
|
| Roller |
|
|
| Sprayer |
|
|
My first choice is usually to use a sprayer, but only if I am going to be painting a lot of trim on the same day. The masking, setup and cleanup make it a bad choice if you only have a couple hours available and are painting incrementally.
To spray or not to spray, that is the question. Whether ‘tis nobler on thy trim to suffer the masking and cleanup of spraying. Or to just say screw it. - Me
Brush
Use a quality brush that is 1” to 2” wide. The 2” width can help minimize brush marks on the flat parts of trim. But a 1” or 1.5” brush is my choice for tight corners and cutting straight lines.
The Purdy XL brush set provides three brushes, 1”, 1.5” and 2”. But if I had to pick just one it would be the Purdy XL 1.5” brush.
Roller
Rollers can provide a higher sheen finish that is almost or even as good as a sprayed finish if you use Floetrol and foam rollers.
Foam rollers help minimize texturing and also don’t have fibers which can be shed by other types of rollers. For rolling trim you will need to use a smaller roller which no larger than the painted surface.
- Designed for painting narrow and hard-to-reach places
- Small paint roller frame, 2 inch high density foam paint roller covers and matching tray
- High density sponge design saves you paint and gives you a smooth finish
- Easy to clean and reusable after use
Sprayer
Beyond just trim, if you are planning on painting a lot of doors, cabinets or wainscoating, you may want to invest in an HVLP sprayer.
- Professional non-bleed Spray Gun with Adjustable Pattern Fan Control
- 25ft Hose includes air control valve to reduce overspray and bounce back
- 1 quart feed cup
- 1.3mm Air cap set installed
HVLP stands for “high volume low pressure”. Atomization is achieved by the volume of air, rather than by high air pressure. This reduces the amount of forward velocity, minimizing overspray.
Here’s a photo of one of my earlier projects. I went a bit overboard with the masking. As you can see, the amount of overspray is manageable. (Odd tape pattern on the floor is due to the toilet flange under the paper.)
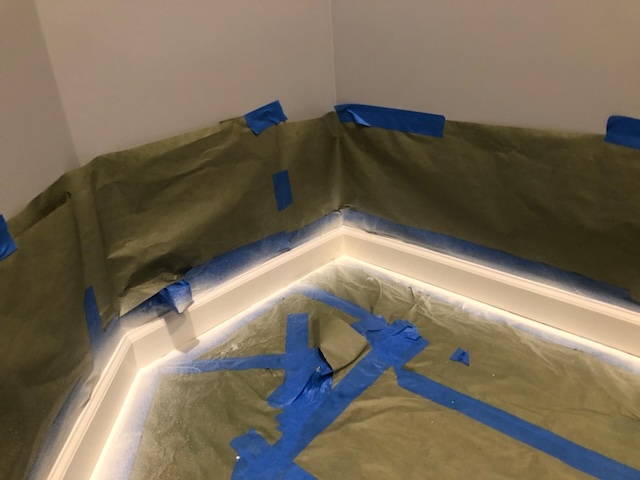
The paint spray rate is adjustable via the needle valve on the gun. And the air valve on the hose can be adjusted down to help minimize overspray. For painting trim the amount of masking needed is minimal.
I’ve owned this system made by Fuji for the past four years. I really appreciate the fact that it is serviceable. I have been able to easily purchase replacement parts for the components with limited lifespan such as gaskets and needle valves. Cleaning the sprayer after painting takes about 15 minutes.
(Updated: )


